|
Getting your Trinity Audio player ready...
|
If you want to elevate your wardrobe and express your personality, look no further than the art of embroidery. Embroidered apparel is the perfect way to add style and sophistication to any outfit or make a personalized and thoughtful gift for a loved one.
Through the intricate designs and personal symbolism of embroidery, we can infuse our clothing with meaning and storytelling. Whether it’s a cherished memory or a symbol of our aspirations, embroidery allows us to weave our narrative into the fabric of our garments.
At T Shirt Plus, we are passionate about the art of embroidery and its ability to transform clothing into wearable works of art. Let us help you create a one-of-a-kind embroidered piece that reflects your unique style and personality.
The Simplest Approach for Embroidering Any Garment
Embroidering clothing, whether for decorative purposes or for enhancing its durability through innovative patchwork, can revive and breathe new life into old garments.
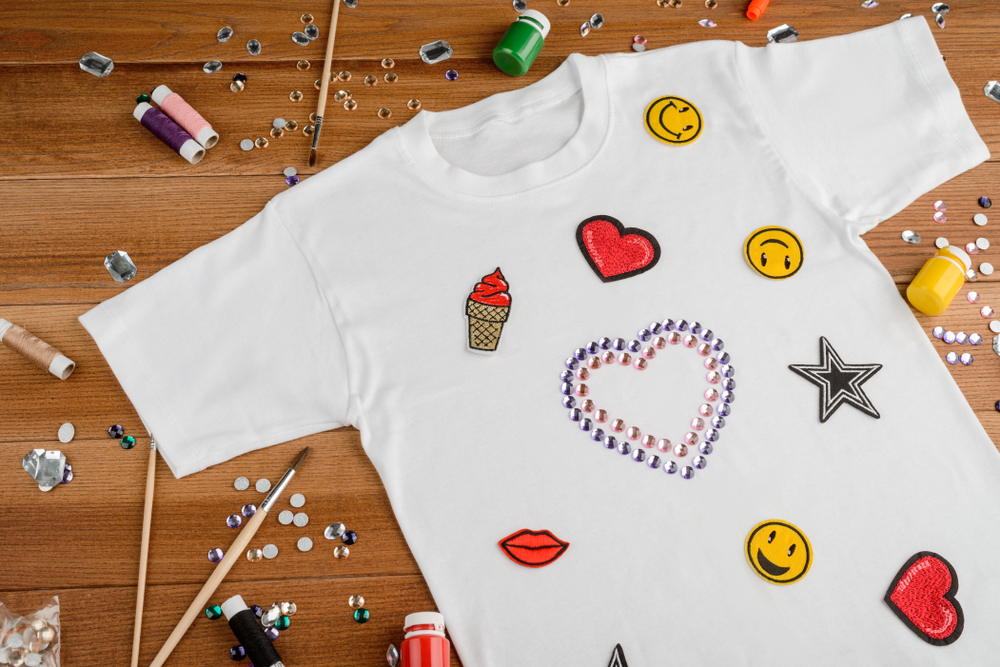
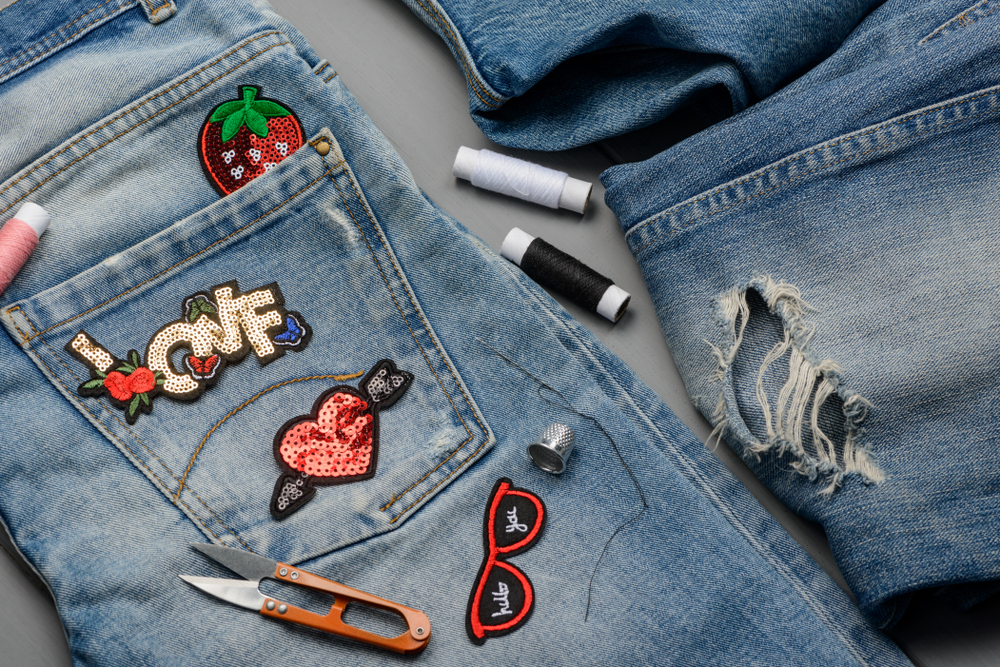
Patches
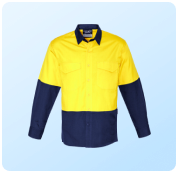
Sometimes creating a patch rather than directly embroidering the Clothing is more accessible. This is especially beneficial for clothes made from velvet or other difficult-to-embroider textiles.
A patch can also be removed and sewn onto another garment in the future, which is particularly practical for children’s clothing. As children outgrow their clothing more quickly, it is a great idea to reuse the embroidery on a new piece of clothing.
Method
Embroider your design to form a patch using a thin cotton cloth or felt. Finally, cut off the shape, allowing enough space around the embroidery so that you do not cut into the threads. Felt is an excellent material since its edges do not fray like those of fabrics. Iron-on stabilisers can be used to prevent the cloth from fraying.
Then, sew the patch onto the garment using closed blanket stitches. With room between the stitches, felt can be sewn.
We recommend stitching very close together for fabrics to cover the patch’s cloth completely. Add stitches in the patch’s centre for large patches to prevent shaky stitching. Use lines or places inside the needlework itself to get this effect.

Step-by-Step Guide to Embroidering T-Shirts:
Step 1:
First, wash and dry the shirt before embroidering it to avoid design distortion caused by shrinkage. This step ensures that the shirt will remain the same size after embroidering.
Step 2:
Choosing the right design is crucial for embroidery on t-shirts. Light and open designs work best on t-shirts, as heavy fills can cause the fabric to pucker and drape poorly. Conversely, it’s best to avoid blocky or too-dense designs.
Suggested Read: Top Custom Design T Shirt Trends
Step 3:
Templates are a great tool to help with design placement. Print a template of the design you want to use from your embroidery software, or use a free program online. This will help you arrange the design on the shirt until you find the placement that looks best to you.
Read More: Tee Shirt Design Step by Step Guide
Step 4:
After placing the template in the right spot, mark the centre point and the vertical and horizontal axis lines. This will ensure the shirt is hooped straight (essential for achieving a neat and even result).
Step 5:
Turn the shirt inside out and add a medium-weight cutaway stabiliser to be embroidered on the back of the area. This stabilises the fabric and prevents it from stretching or distorting during embroidery. Avoid using tear-away stabiliser on t-shirts, as it can lead to misaligning stitches.
Step 6:
Attach the hoop to the machine, load the design, and embroider it using a suitable needle size. It is recommended to use a size 11 or 75/11 embroidery needle for best results. Once the embroidery is complete, trim the excess stabiliser away from the back of the design, leaving about 1/2″ around it.
Step 7:
Experiment with different color combinations to add a unique touch to your embroidery. You can try embroidering a design in multiple colors or contrasting the embroidery with the shirt color for a bold look.
Step 8:
Embroidery designs can be placed on either the shirt’s front or back, depending on your preference. You can also experiment with the placement of shirt areas, such as the sleeves or the hem.
Step 9:
Once your embroidery is complete, enjoy your finished project and share it on social media. With these steps, you can create beautiful and professional-looking embroidery on t-shirts that will last years.
Suggested Read: How Social Media is Changing the Fashion Industry

The Dos and Don’ts of Cleaning Embroidered Garments

When washing an embroidered garment, you must make several considerations. First, undo the buttons and close the zippers to preserve the garment’s shape during the wash cycle. Additionally, inspecting the pockets for sharp objects that could damage both the clothing and needlework during washing is recommended.
Embroidery thread is guaranteed not to fade or distort if washed at 30 degrees, which is the optimal washing temperature. Washing the embroidered garment inside out is also recommended. This will safeguard the embroidery and prolong its life.
A garment with embroidery should not be dry-cleaned. The chemicals used in dry cleaning will harm the embroidery thread.
Lastly, wash your outfit before its first use. This will eliminate any stains on the embroidery frame.
Conclusion:
Start creating the perfect embroidered T-shirts for yourself or your team today with Tshirtplus! Choose from various colors, sizes, and features like curved seams and moisture-wicking fabric to create high-quality personalised T-shirts. But, don’t wait; start designing your team’s perfect embroidered T-shirts now!
Also Read:
- How To Tie Dye A Shirt – Update
- Top 10 T Shirt Design Trends For Print-On-Demand
- 10 Popular T Shirt Style You Can Wear