|
Getting your Trinity Audio player ready...
|
Tote Bags are highly helpful when it comes to carrying plenty of stuff with ease.
Today, we will talk about a specific type of bag that you will love to know about and to have one. The best part is you’ll be able to make that bag yourself, even at your home, after reading this post until the end.
Let’s find out all about tote bags and how to make one yourself.
What is a Tote Bag?
A tote bag is a mid to large-sized bag that has parallel handles. The bags are bigger than most other handbags and are unfastened at the top. Totes come in multiple patterns and colors. Plus, we can make them from various types of fabric.
The bags are usually made from lightweight material, for instance, jute, woven fabric, as well as cotton and canvas. But, we can also make tote bags with durable material, like leather.
Material Required To Make Tote Bags
Get the material mentioned below to make your very own tote bag:
- ½ yd. Lining fabric (lining)
- ½ yd. Exterior handles and exterior fabric
- Thread in coordinating color

Suggested Read: Easy And Fast DIY Printing Methods on Tote Bags
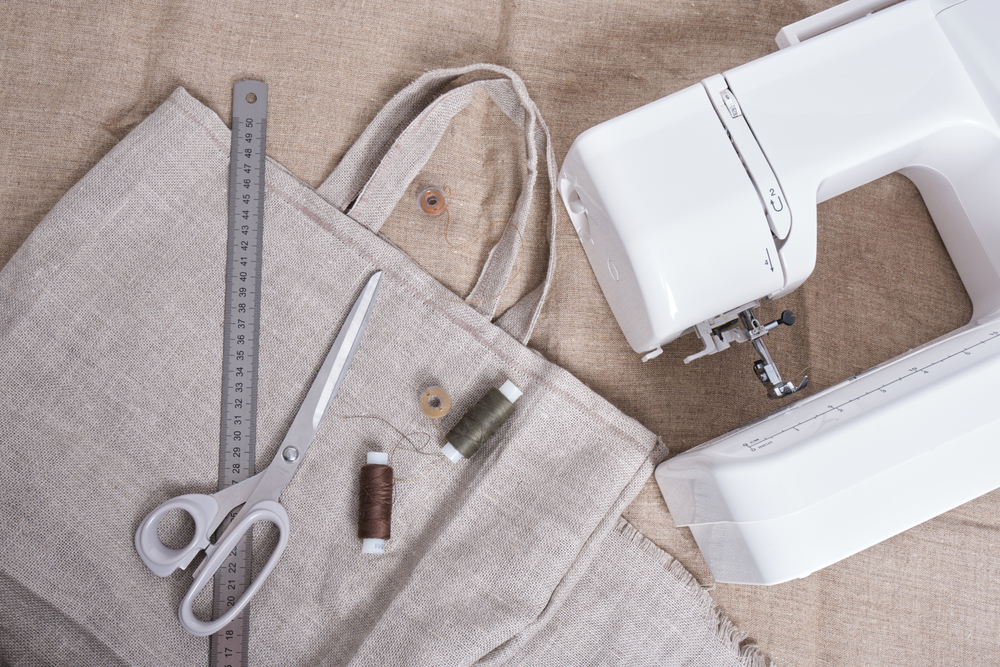
Supplies Required To Make Tote Bag:
Prepare the following supplies to craft a beautiful tote bag:
- Water-erasable pen
- Straight pins or wonder clips
- Sewing machine
- Acrylic ruler
- Self-healing rotary cutting mat
- Iron and ironing board
- Rotary cutter with a sharp blade
- Walking foot (optional)

Now, let’s jump to a step-by-step tutorial on how to sew a tote bag.
Step-by-Step Tutorial On Making A Tote Bag
Here’s how to make a professionally finished tote bag or a sturdy bag (ideal for groceries or library books). It’s durable because it’s lined, which gives it more strength.
Our bag’s dimensions will be 13″ x 13″ x 2″
Step 1: Cut Out Fabric
- For the main body of the bag, cut (2) 14” x 14” from exterior fabric (A)
- For bag handles, cut (2) 4″ x 22″ from exterior fabric (A)
- For bag lining, cut (2) 14″ x 14″ from lining fabric (B)
Step 2: The Bag Handles
To give a tote bag more stability, this is how to make the bag handles:
1st: Fold the bag handles lengthwise, wrong sides together and press in a crease.
2nd: Press again after folding the raw edges on both sides towards the crease.
3rd: Fold strap in half with folded edges matching up. Make sure all the raw edges are facing inside the handle.
4th: Pin or clip to hold.
5th: Use a 3-4 mm stitch length to topstitch ⅛” down both sides of the bag handle.
Tip: This is the perfect moment to use an edge stitch foot.
6th: Repeat the same process for the second handle.
Step 3: Make The Body Of The Bag
1st: Stitch the bottom and the side seams of the exterior fabric with right sides together and by leaving the top open. Use a ¼” seam allowance.
Note: Don’t forget to change your stitch length back to 2.5 mm.
2nd: Regarding lining fabric, stitch its bottom and side seams by leaving the top open and with the right sides together. Use a ¼” seam allowance again.
Step 4: Make A Pleat In The Bags
1st: Create a pleat to make a flat bottom in the bag. For that, make a triangle in the corner by folding the bag’s bottom corner. To make this lineup perfect, match up the bottom and side seam.
2nd: First, pin the corner and then draw a mark 1.5” away from the corner with a water erasable pen.
3rd: Make a stitching line first. Afterward, create a pleat by stitching across.
4th: Clip away the triangle by leaving a ¼” seam allowance. You also have to remove the markings.
5th: Repeat the same procedure on the lining and all corners of the exterior of the bag.

Also Read: What to Do With Old T Shirts – 19 Innovative Ideas
Step 5: Put It All Together
1st: Keeping the right sides together, the lining fabric should be inserted inside the exterior fabric. Plus, you need to line up seams.
2nd: Put one of the bag’s handles between the lining fabric and the exterior fabric about 3” from the side seams, like a sandwich. Keep the handles straight. They must not twist.
Place the raw edges of the bag handles side by side, 5” apart, approximately.
3rd: Pin into the place and repeat the same procedure on the bag’s opposite side. To turn your bag, make sure you leave a 3” opening.
4th: Stitch around the bag’s top edge by using a ¼” seam allowance.
Step 6: Finishing Touches
1st: Turn your bag right side out and press the top seam carefully.
2nd: Push the lining fabric into the bag and press the top edge.
3rd: Use a ⅛” seam to topstitch around the top of the bag.
Tip: This is another perfect moment to use an edge stitch foot.

Final Word
With tote bags, the possibilities are endless. You can decorate your next bag, maybe, by making a two-tone bag or adding a pocket on the inside. Similarly, you can also customise tote bag with your own design or a monogram
Image Source: Shutterstock
Also Read:
- How to Screen Print: A Step-by-Step Guide for Beginners
- Polyester vs Cotton vs Blends: Which One Is Better?
- Does Polyester Shrink? Myths and Facts